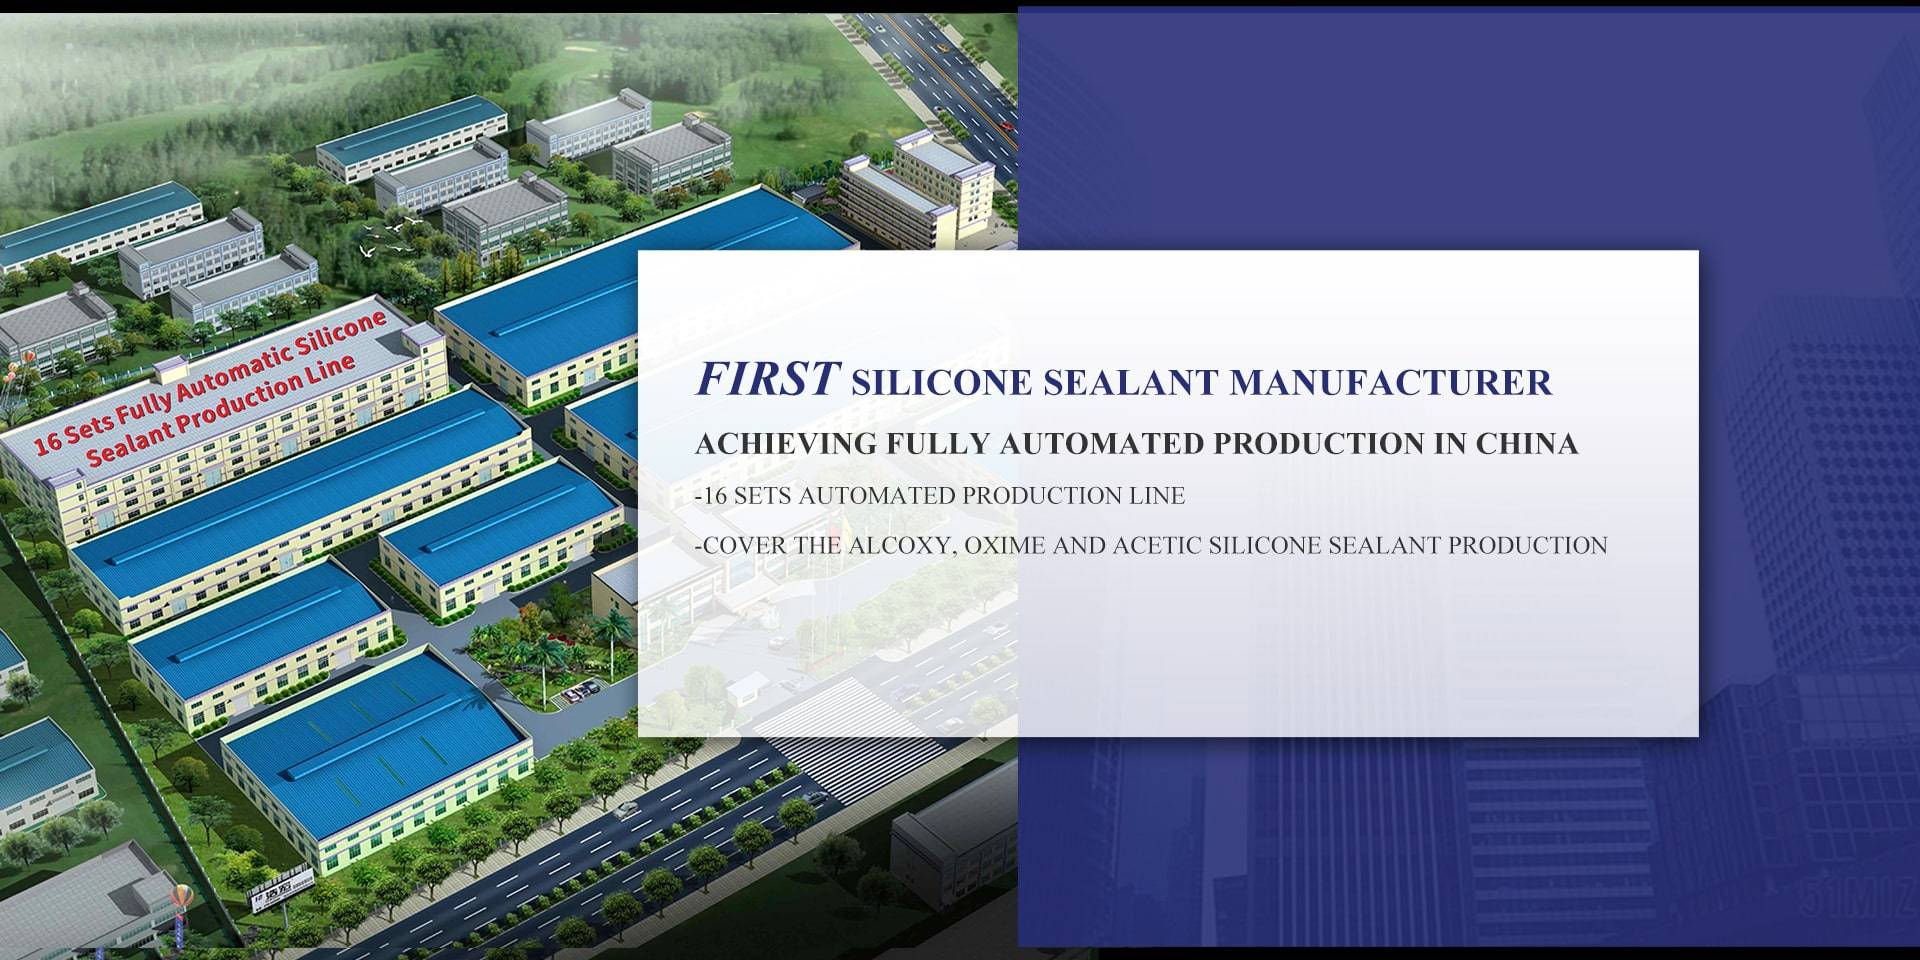
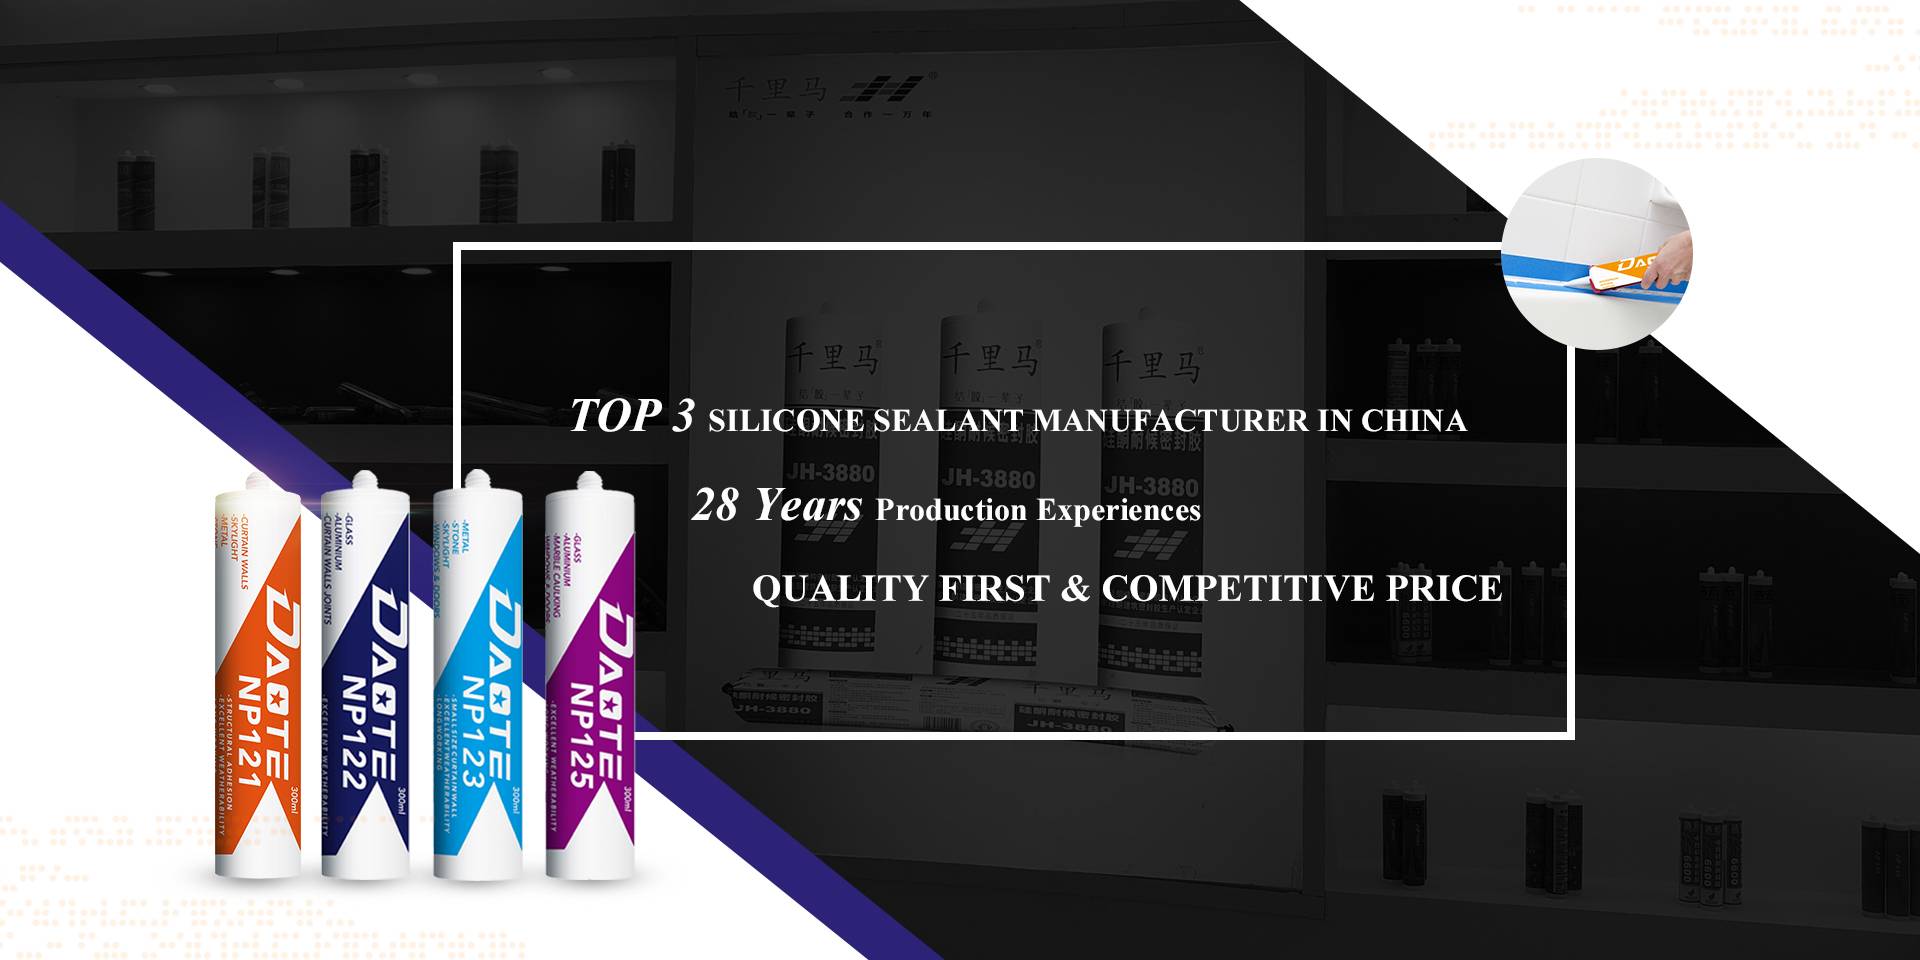
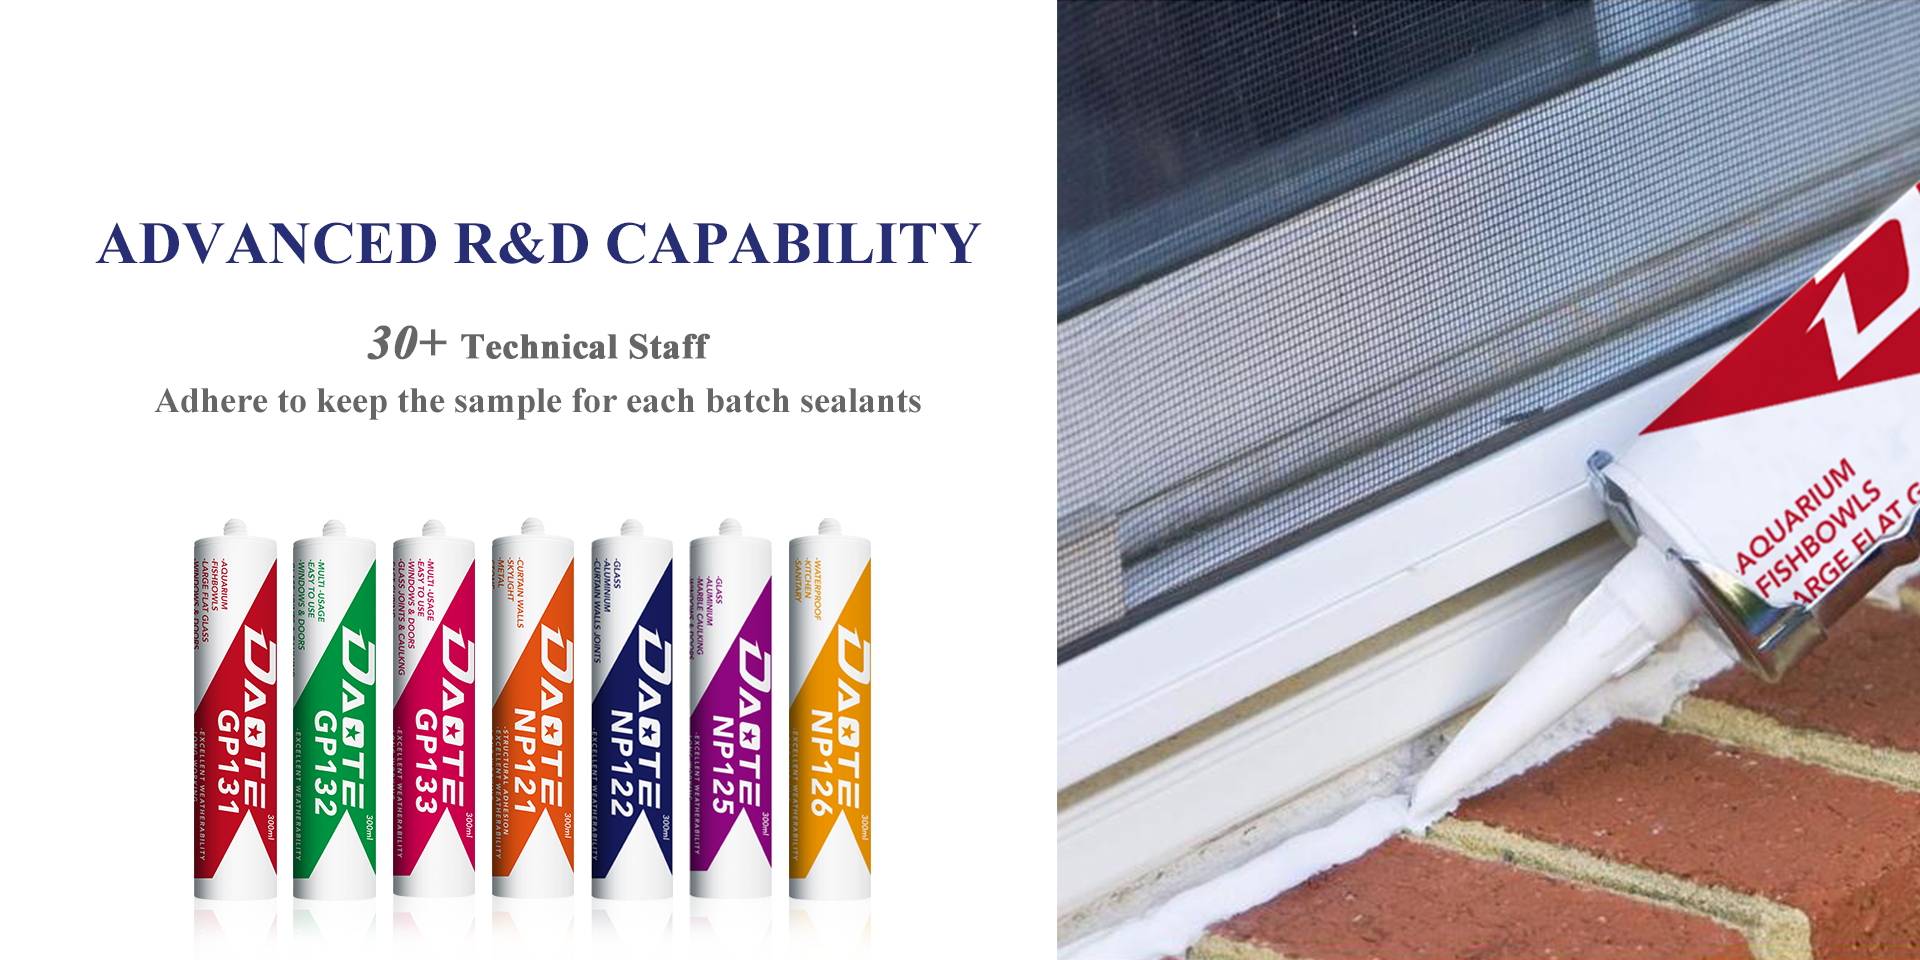

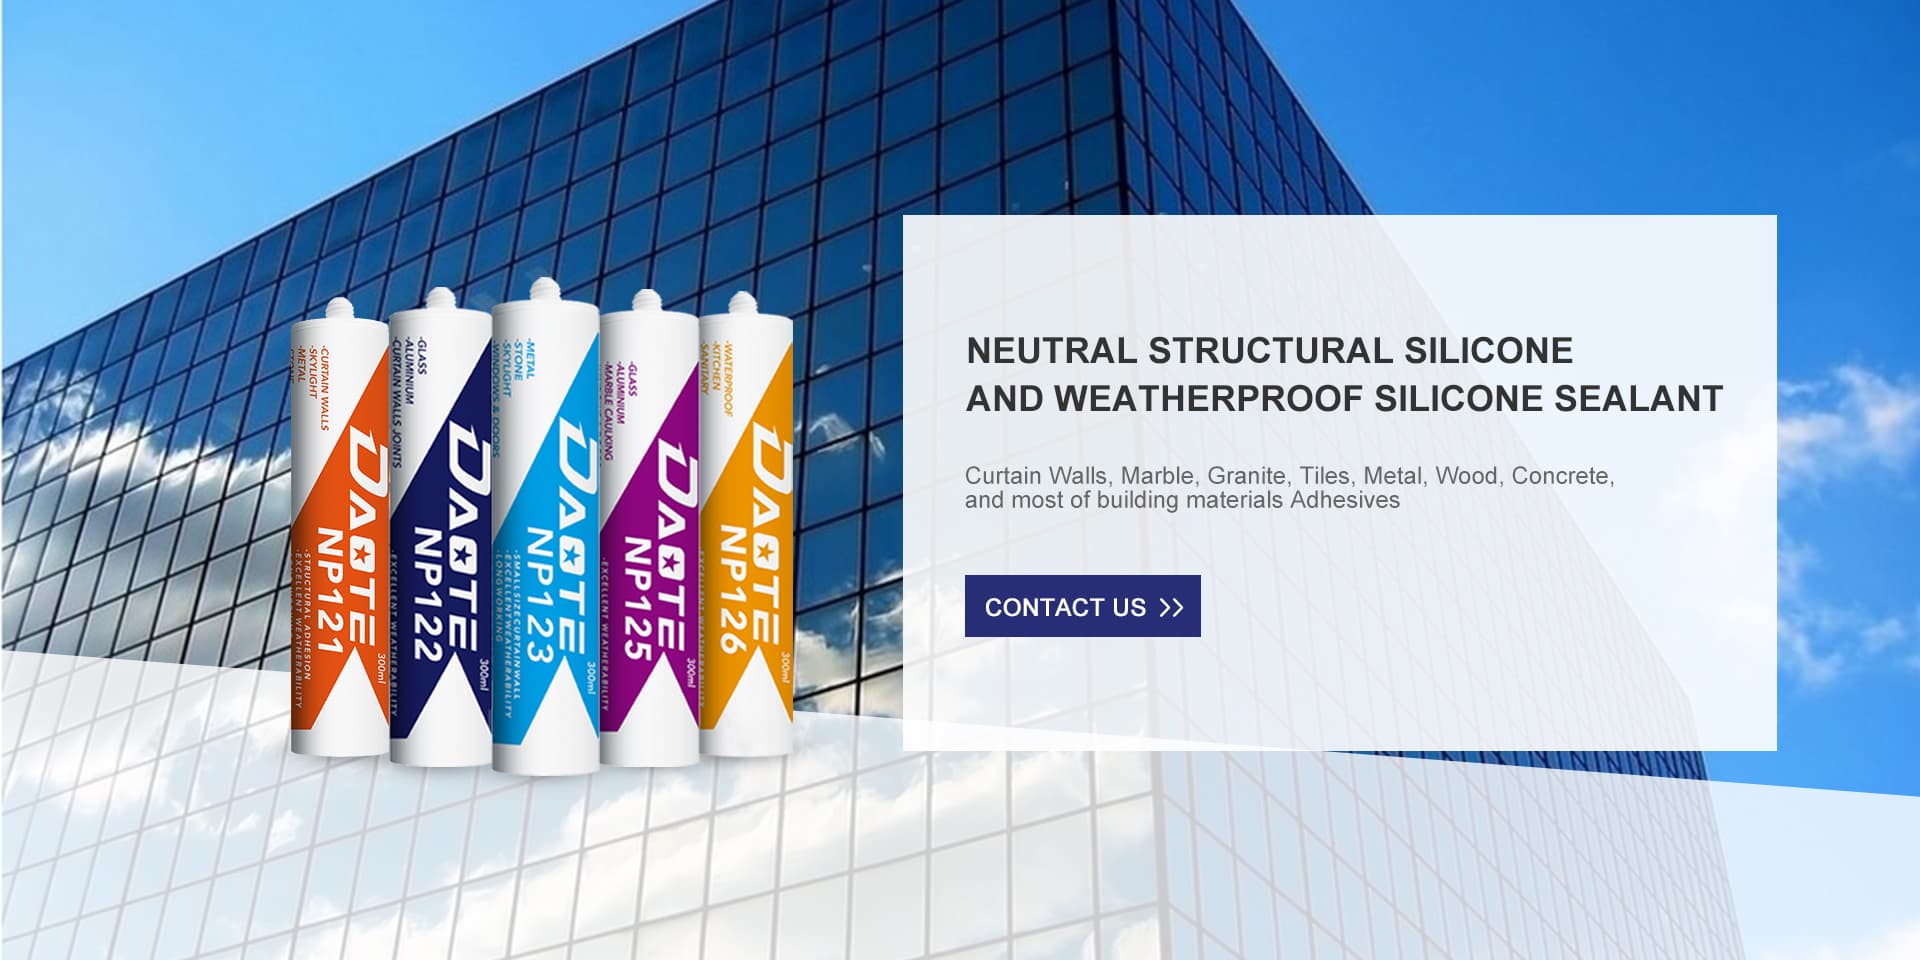
PRODUCTS
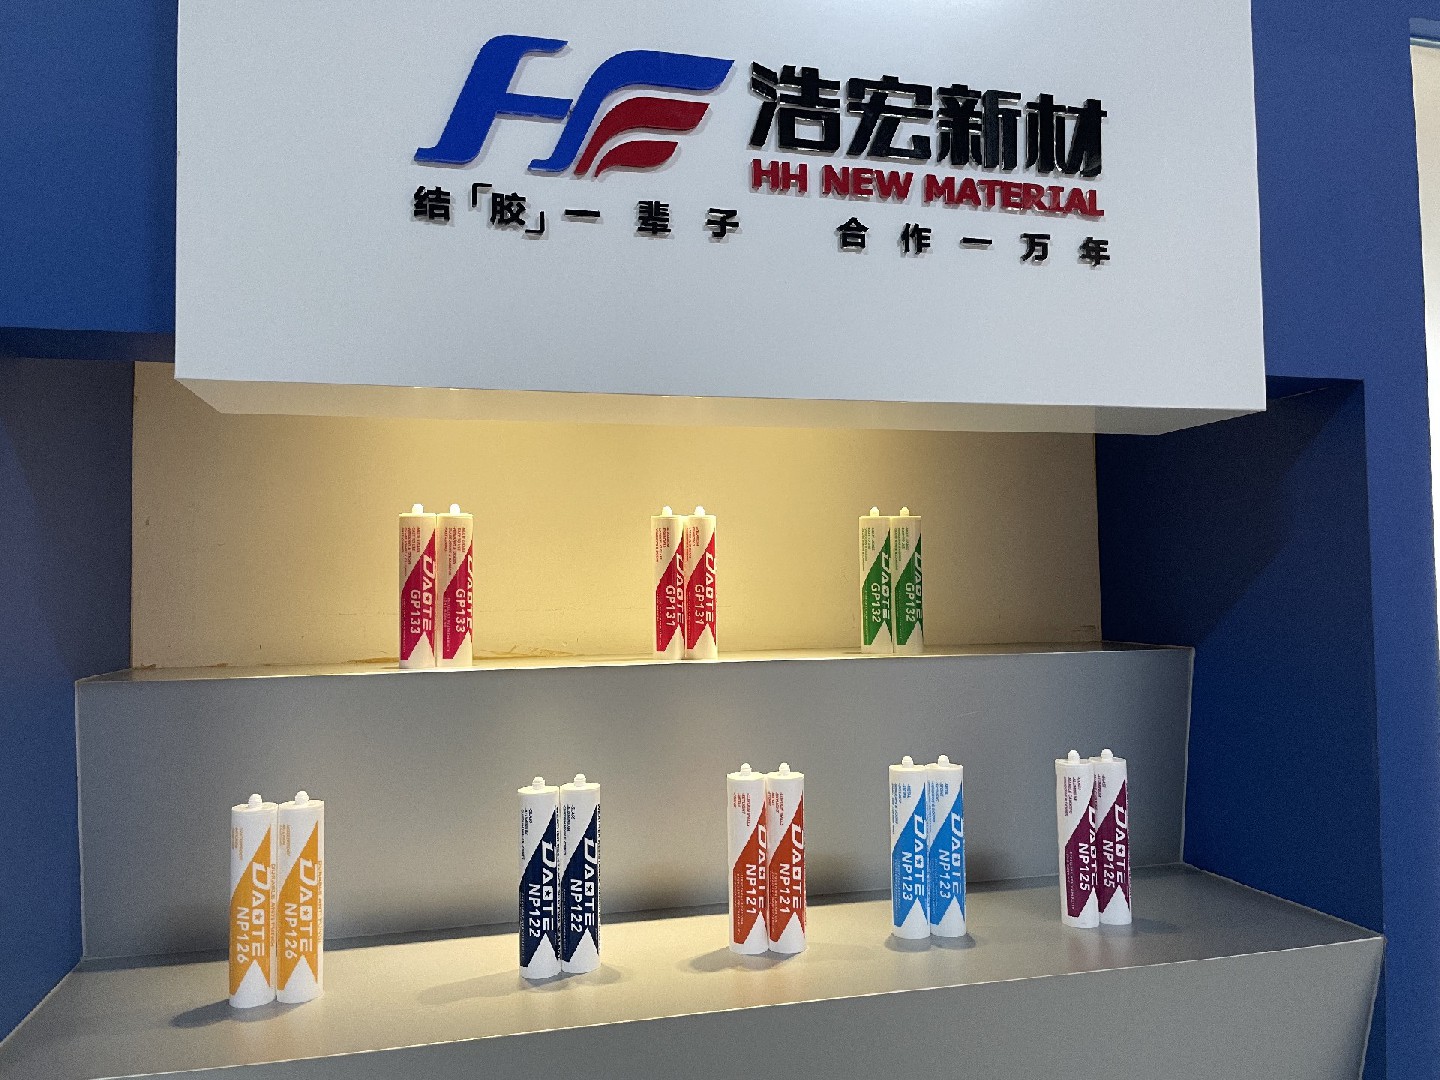
Silicone Sealant Manufacturer


OEM/ODM PROGRAM

Request & Research

Evaluation & Quote

Simulation & Sampling

Approval & Order

Quality & Delivery
NEWS
08/01
Acrylic Sealant vs. Silicone Sealant
If classified by use, it can be divided into silicone sealant and silicone structural adhesive.

06/17
Weatherproof Silicone Sealant V.S. Structural Silicone Sealant
If classified by use, it can be divided into silicone sealant and silicone structural adhesive.

05/10
Silicone Sealant Handbook
If classified by use, it can be divided into silicone sealant and silicone structural adhesive.

04/14
Commercial-grade Silicone Caulking Types
If classified by use, it can be divided into silicone sealant and silicone structural adhesive.
04/07
The Strength Of Haohong New Material
If classified by use, it can be divided into silicone sealant and silicone structural adhesive.

03/22
Window Sealants Manufacturer – OEM Services
If classified by use, it can be divided into silicone sealant and silicone structural adhesive.
CONNECT US


Zhaoqing Haohong New Material Co., Ltd.
We are always providing our customers with reliable products and considerate services.
If you would like to keep touch with us directly, please go to contact us
-
![Home]()
Home
-
![Tel]()
Tel
-
![Email]()
Email
-
![Contact]()
Contact


